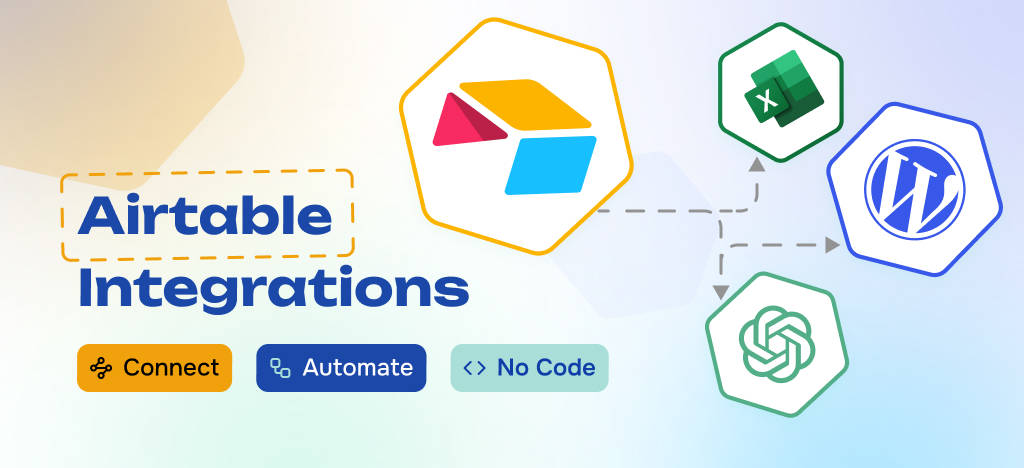
Embark on a journey to elevate your workflow efficiency with Airtable automations! Our comprehensive guide dives into how you can harness the power of Airtable’s API and various apps to automate and streamline your business operations. Learn how to seamlessly integrate these automations into your existing systems, enhancing your team’s productivity and project management capabilities.
In this article, we show you the automation feature of Airtable and how to use it. The automation feature allows you to set up a workflow that is triggered by events and perform a succession of actions.
What is an Automation in Airtable ?
An Airtable automation is a way to execute a series of tasks in Airtable whenever a particular event occurs. One of the great things about Airtable automations is that they can trigger or be triggered by anything in a fully automatic way without having to act to perform the actions. Airtable automations are a good way to create an efficient, automated, and easy-to-use database.
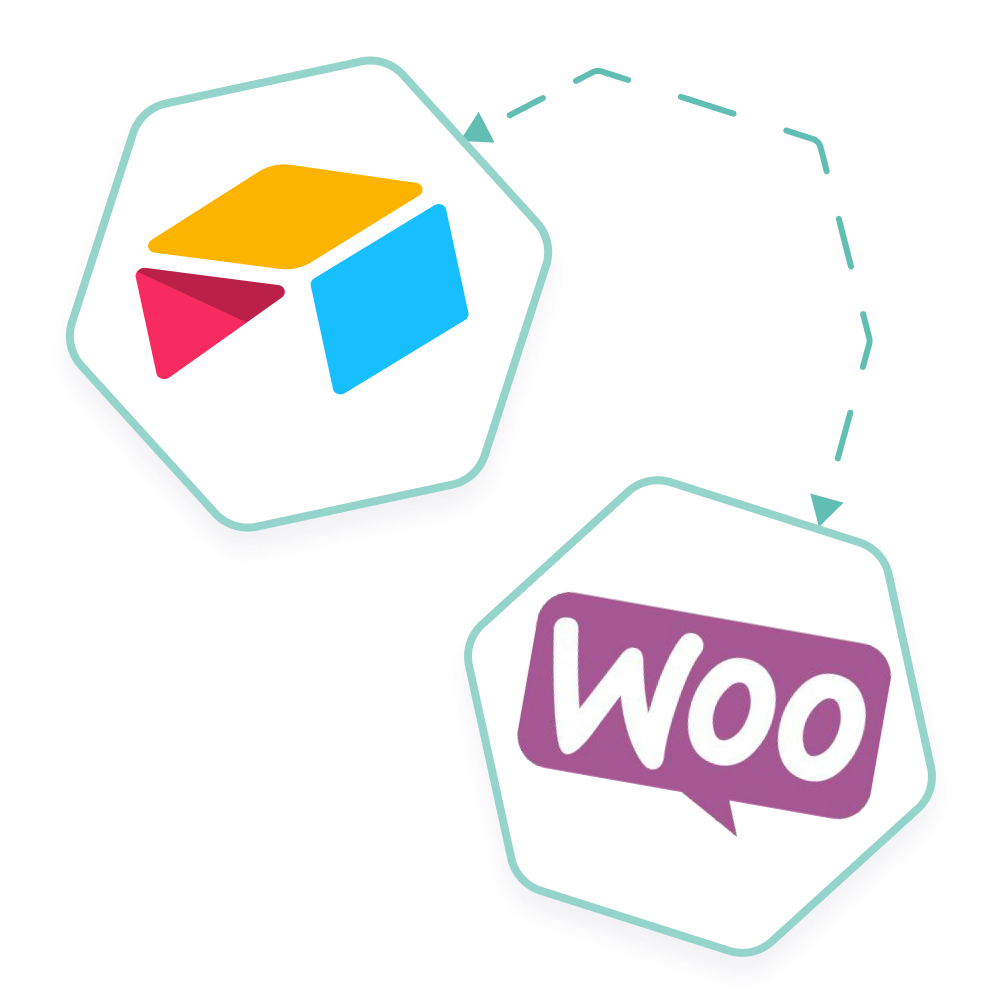
Easily manage your e-commerce website from Airtable
Get your WooCommerce store synchronized with Airtable: save time and increase business productivity.
- Product catalog management
- Product updates
- SEO plugins integration
- Real-time order monitoring
- Inventory management
- And much more
Prerequisites to set up an Airtable Automation
All types of users have the ability to access Airtable automations, however some features are restricted depending on the plan you are using.
For more information, you can consult the official Airtable documentation by clicking on this link: https://support.airtable.com/docs/automations-overview
Create your Airtable Automation
Follow these steps to create your first automation
1- Create Automation
Go to the Automation section of Airtable and create an automation by clicking on the “Create automation” button.
2 – Choose a Trigger
When you create an automation, the first thing you’ll need to do is choose a trigger. Triggers are what make automations run. To start your automation you have to choose the event that will launch the sequence of action to be performed. You can select one from a list of trigger types that will act as an entry point for your automation.
For example: “When a record created” will be triggered as soon as a record is added to the table. Configure your trigger with the requested information in the configuration section.
3 – Add Actions and/or Integrations
Once the trigger of your automation picked out. You can configure one or more actions that will be executed. Just click on “Add action” and select the action you want. Then add a description and configure your action according to your needs. Airtable also benefits from many integrations that will allow you to perform all kinds of actions such as creating a Google Calendar event.
4 – Add Conditional Actions
Airtable offers the possibility to add actions that meet certain conditions based on the trigger of your automation. If the conditions are met then the task will be executed. Otherwise it will simply be ignored.
5 – Test Automation
Before activating your automation, we advise you to test your scenario. Test the steps of your circuit simply by clicking on the “Test Automation” button. Airtable also offers you the possibility to test each step of your automation by clicking on the “Run step” button in the Test step section.
6 – Activate your Automation
Don’t forget to switch your automation to “On” to activate it.
Easily manage your e-commerce website from Airtable
Get your WooCommerce store synchronized with Airtable: save time and increase business productivity.
- Product catalog management
- Product updates
- SEO plugins integration
- Real-time order monitoring
- Inventory management
- And much more
Use a webhook
Here are the steps to follow to call a webhook using an Automation.
- Choose your trigger: Click on the “Add trigger” button and choose the event that will launch the call to the webhook
- Choose action: Click on the “Add action” button and select “Run a script” in the list
- Configure action: In the configuration section of your action, click on the “Edit script” button. Once the edit window is open you will be able to add the following script in the code area (don’t forget to replace the URL by the one you want to call):
let response = await fetch('url-of-webhook');You can test the webhook call simply by clicking on the “TEST” button. The answer will be displayed just below in the test output section. Once you have finished entering the code, click on the finish editing.
Turn on automation to make sure that your automation is active. To do this, click on the switch in order to put it to “ON”.
By following these steps, with Airtable, you will be able to create an automation to level-up your business processes.
Conclusion
As we wrap up our exploration of Airtable automations, remember that these tools offer more than just time-saving solutions. They open a world of possibilities for customizing your workflows, scaling your business operations, and managing your content and team with greater precision. Embrace the power of Airtable to transform how you work and connect with your community.