You may need to duplicate a connection to change only a few settings, or to export and import it from one of your sites to another, etc. Here’s how to do it.
Duplicate a connection
Connections created by our plugins are Custom Post Types, so it is possible to use a plugin to duplicate them.
You can use one of the following plugins, making sure the plugin allows duplication of CPTs:
- Yoast Duplicate Post
- Duplicate Page and Post
- Duplicate Post, Page, and Any Custom Post
- Duplicate Post Page Menu & Custom Post Type
- Duplicate Pages, Posts, and CPT
- Clone Post
- The Content Duplication module of WPMasterToolKit (WPMTK) – All in one plugin
Example with Yoast Duplicate Post
- Install the Yoast Duplicate Post plugin and activate it.
- Go to the plugin’s settings page by clicking on Settings > Duplicate Post in the menu.
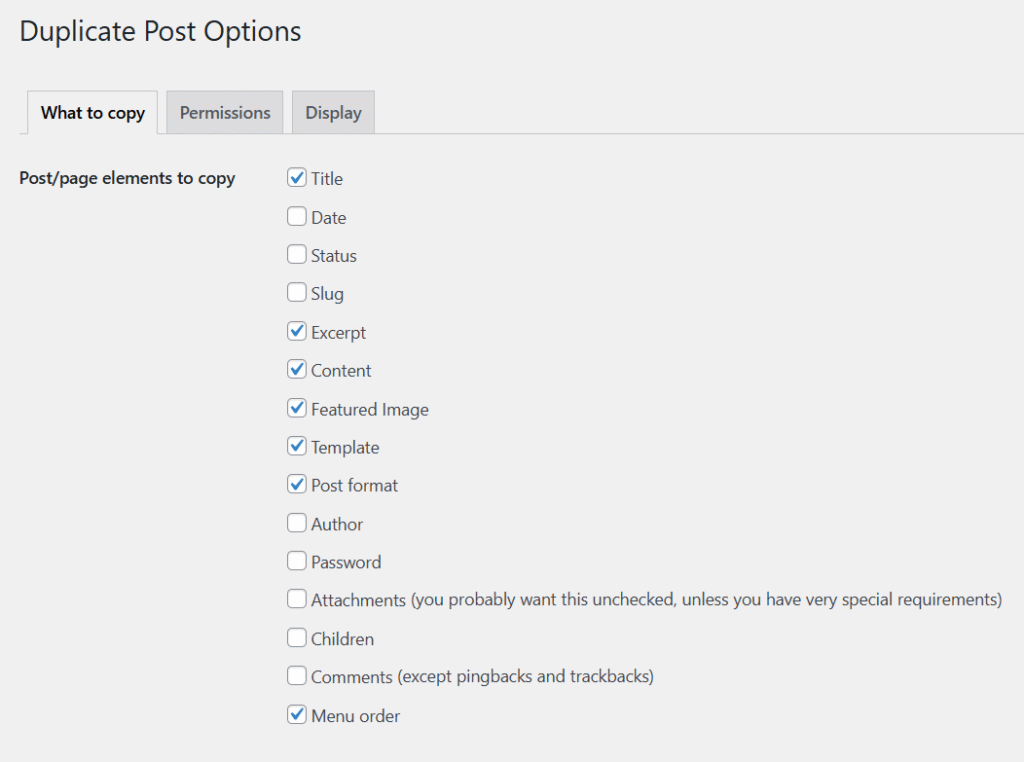
- In the What to copy tab, leave the default options as they are.
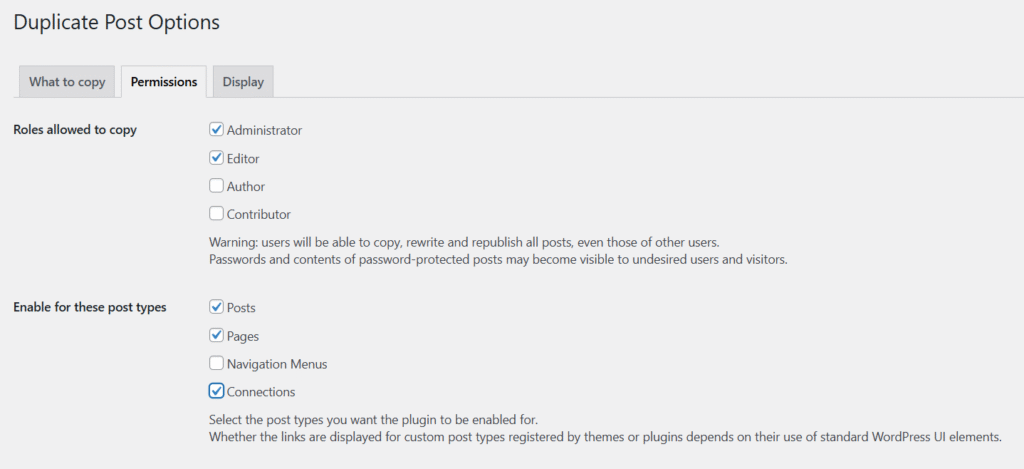
- In the Permissions tab, check the Connections option.
- Save your settings by clicking the Save changes button.
- Navigate to the connections page of your plugin (AWPS, NWPS, or AWPS for WooCommerce) via the All Connections submenu.
- Hover over the name of the connection, then choose either Clone or New Draft to duplicate it.
- Modify the connection settings as needed, then publish it to use it.
Export connections
To export your connections:
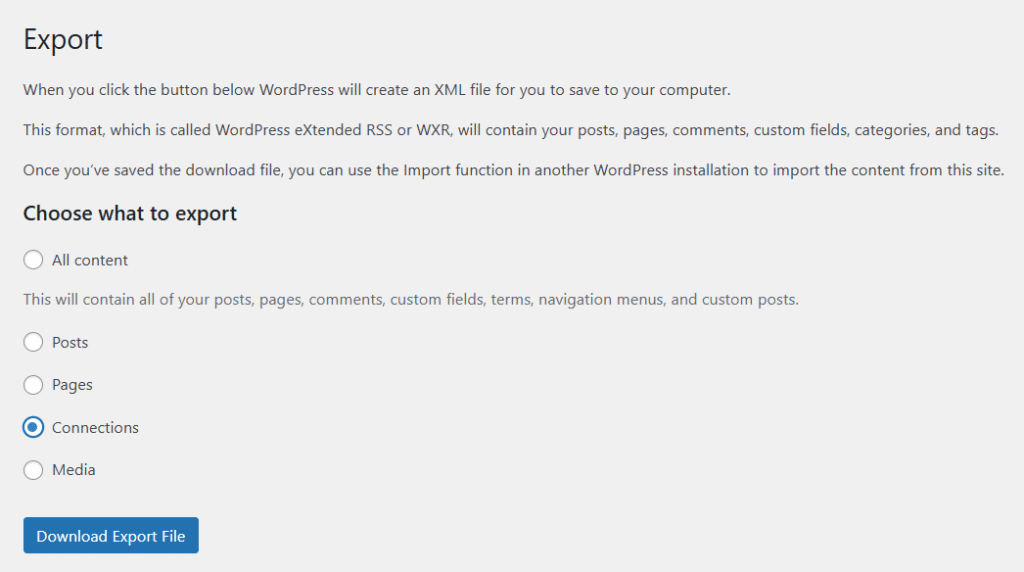
- Use the native WordPress export tool by going to the Export page via the Tools > Export menu.
- In the list, check the Connections option.
- Then click the Download Export File button.
- Choose a location and name for the file, then click the Save button.
The generated XML file contains all the information about the connections created with our plugins. You can use this file for importing.
Import connections
To import your connections:
- Install the WordPress Importer plugin by going to the Import page via the Tools > Import menu.
- Click the Install Now link in the WordPress section. The WordPress Importer plugin will be installed.
- Click the Run Importer link in the WordPress section. The plugin will be automatically activated, and you can select the file to import by clicking the Choose File button.
- Navigate to the correct location and select your XML file, then click the Open button.
- Once the file is selected, click the Upload file and import button.
- Create a new user or assign an existing user from the list for the content to import, then click the Submit button.
The connections will then be imported with their settings, and you will find them on the All Connections page of your plugin.
You are now able to manage your connections, by duplicating them or by performing exports and imports.