Do you want to sync Notion pages to your website?
The Notion WP Sync – Notion To WordPress plugin is there for you.
In this video tutorial, you will learn how to install and use our Notion To WordPress plugin to securely and reliably import and sync your content. Follow our step-by-step tutorial and you’ll be able to sync Notion to your WordPress site!

Transcription of the WP Sync for Notion – Notion To WordPress plugin video
Step 1: Activate and Set up the WP Sync for Notion plugin
After activating the plugin, go to WP Sync for Notion settings.
Click “Add New” to generate a connection before naming it.
Step 2: Generate a token and share your integration
To get your internal integration token, a few steps are required in Notion.
Go to your Notion workspace and open “Settings & members”.
Click on “My connections” and open “Develop or manage integrations”.
Create a new Notion integration.
Once your integration is created, copy the “Internal Integration Token”.
Paste it into the plugin’s corresponding field.
A message pops up telling you that one more step is required…
You still need to add your Notion connection to the source page.
Open the Notion page that you want to sync with WordPress.
Click on the three dots in the top right corner, then “Add connections”.
Look for the integration you just created and select it in the list.
Confirm sharing access to the page with our plugin.
Now you’re ready to use the plugin!
Step 3: Create WordPress Posts
Look for the name of the Notion page you want to sync and select it.
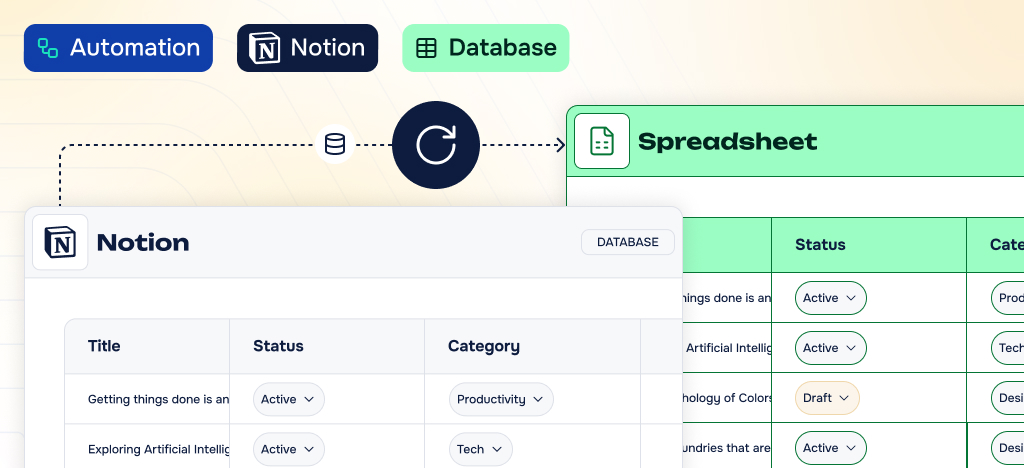
Select the details of contents that will be synchronized in WordPress.
Map Notion attributes to create WordPress posts.
Add a new line for each field you need to sync from Notion.
In this last section, set up how your posts will be synchronized.
Choose to import them only once or to update them regularly.
Synchronization can be manual or recurring (or instant in Pro version).
When all your settings are done, publish the connection to save it.
If the trigger is set to Manual only, click the Sync now button.
You can also wait for the next recurring time if set as such.
Last sync status and date have been updated, let’s check the result…
That’s it; the Notion page has been synchronized as a WordPress post!
Now, let’s import this Notion page and all its child pages at once.
Step 4: Child Pages
Create a new connection or edit an existing one.
Go to the parent page and add the integration to share access with the plugin.
Look for the name of the Notion page and select it.
Select Yes button to sync all child pages with the parent page.
Edit Field Mapping and Sync Settings sections if necessary.
Publish or update the connection to save it.
If the trigger is set to Manual only, click the Sync now button.
Last sync status and date have been updated, let’s check the result…
That’s it; the parent page and all its child pages have been synchronized!
Step 5: Create WordPress Pages
Now, let’s edit our connection to create a WordPress Page instead of a Post.
Go to the Notion source page and add the integration to share access with the plugin.
Look for the name of the Notion page and select it.
Select Page for the post type.
Edit Field Mapping and Sync Settings sections if necessary.
Update the connection to save it.
If the trigger is set to Manual only, click the Sync now button.
Last sync status and date have been updated, let’s check the result…
That’s it; the Notion page has been synchronized as a WordPress page!