Gravity Forms to Odoo Documentation
Thank you for purchasing our product!
This guide helps you integrate your forms with Odoo using the Odoo for Gravity Forms Add-On, enabling automatic data transfer from Gravity Forms to Odoo without the need for third-party services.
Installation & Settings
- Download the plugin file to your computer.
- Log in to your WordPress dashboard.
- On the left-hand side menu, click on Plugins and then Add Plugin.
- Click the Upload Plugin button at the top of the page.
- Click the Choose File button and select the plugin file you downloaded in step 1.
- Click the Install Now button.
- Wait for the plugin to be installed, and then click the Activate Plugin button.
- Move to Settings of Gravity Forms and then click on Odoo.
- Now, enter your license key in the License Activation section, provide Odoo’s database information, and click the Save Settings button.
Generate Odoo API Key
In Odoo, go to My Databases and connect into your database, by clicking on connection button.
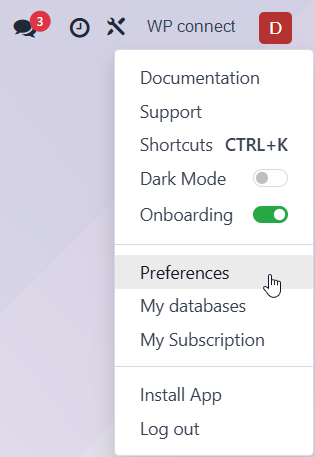
- Click on your name in the top right corner, then select the Preferences menu.
- Click on Account Security, then navigate to the API Keys section.
- Click Add New API Key button.
- Enter your password, then click Confirm Password.
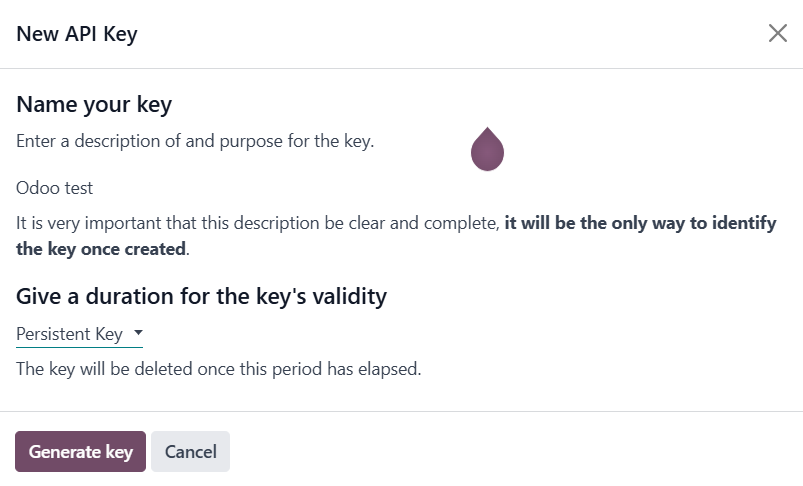
- Type a short description or a name for your API Key and give a duration for the key’s validity by selecting a value in the drop-down list.
- Click on the Generate Key button.
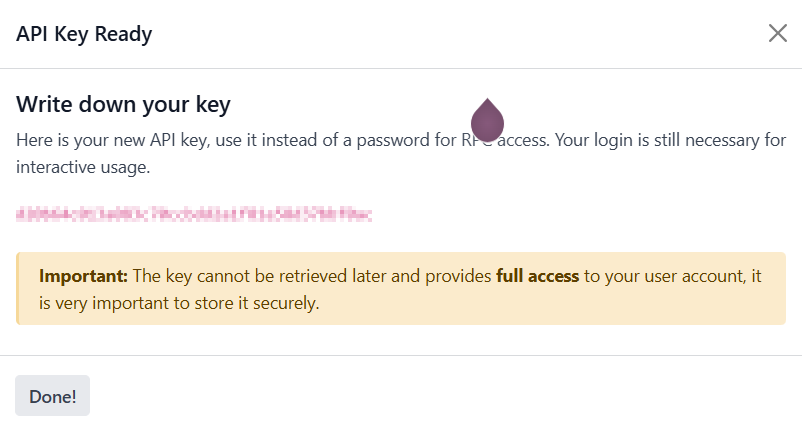
- Save your API Key in a secure place.
- Click on the Done! button.
Add Odoo API Key to Gravity Forms
In the left-hand menu section of Gravity Forms, click on Settings menu.
- Click on Odoo menu.
- Check the Odoo’s database information.
- Now, copy your new API Key in the Odoo API key field.
- Enter the e-mail linked to the API key in Odoo User’s Email field.
- Click the Save Settings button.
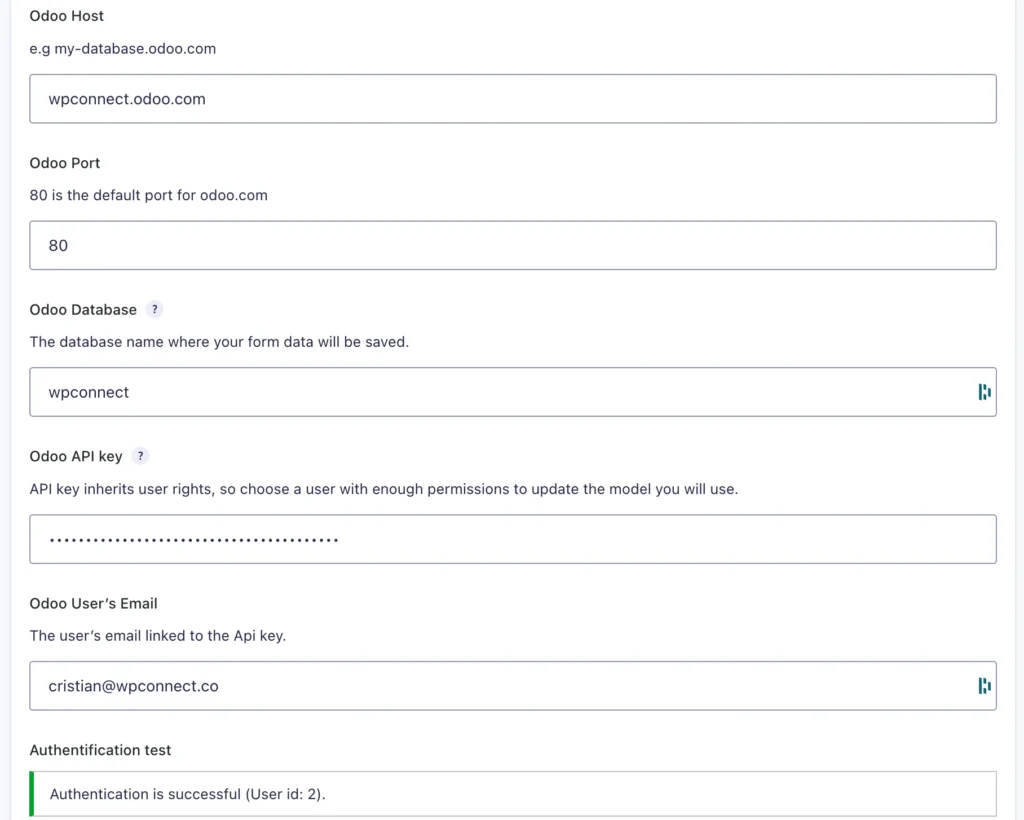
📌 Note: after saving the settings, you should see “Authentication is successful”.
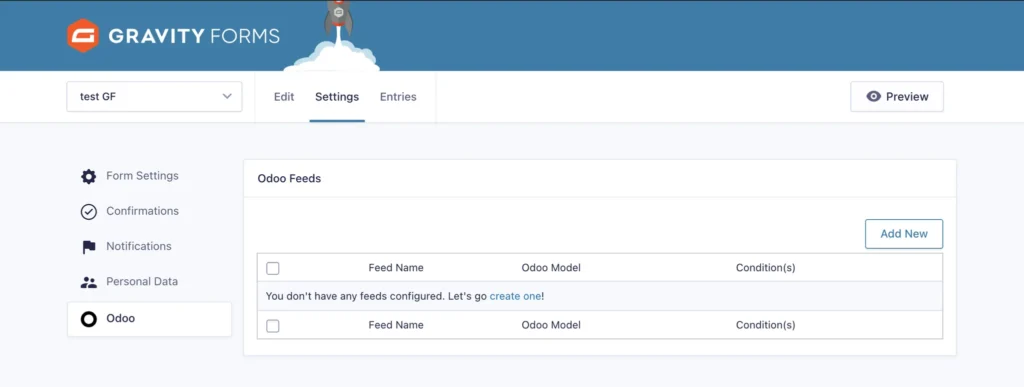
Create a feed
- Open the form you want to connect with your Odoo model.
- In the top, click on Settings > Odoo menu.
- In Odoo Feeds section, click on Add new button.
- Type a name for your feed in the Feed Name field.
- Select the model of your choice in the Model Name dropdown list.
- Click on Save Settings button.
Fields Mapping
Now that you have saved your settings while creating connection between Odoo and your form you will see in your feed Fields mapping section.
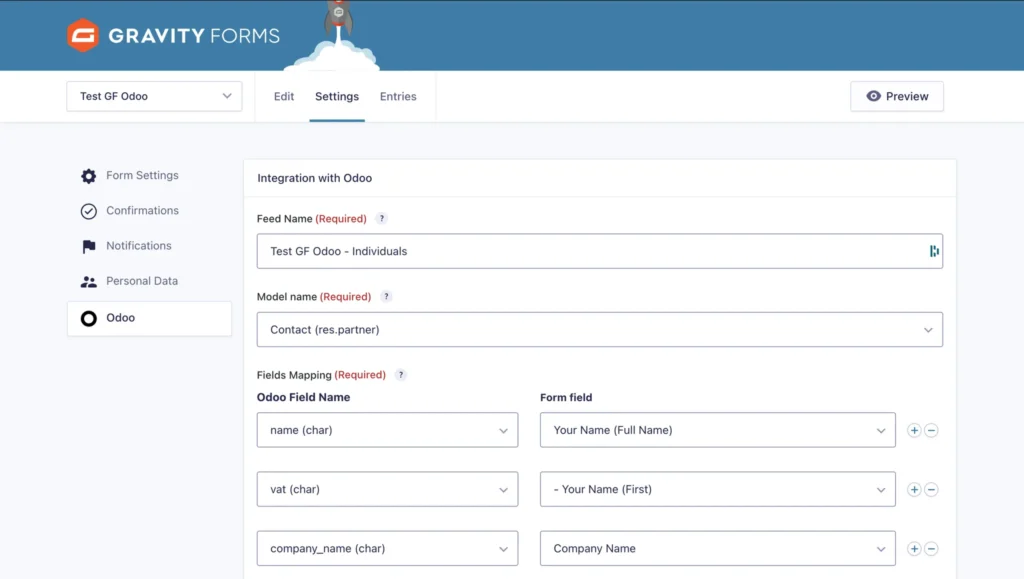
- In Odoo Fields Name, select a Odoo field present in your model.
- In Form field, select one of your form field present in your form.
- Click on the + button on the right to connect other Odoo fields with form fields.
- Repeat step 1, 2 & 3.
- Click on Save Settings button.
Add Conditional Logic
You can finally add conditional logic, so only the contact information of those who meet specific conditions will be sent in Odoo table.
To create a condition, click Enable Condition option.
On the left, you can choose a field from your form and select the criteria that will activate sending to Odoo, for example:
→ Subject IS Commercial request
If you want add an additional condition, click on the + button.
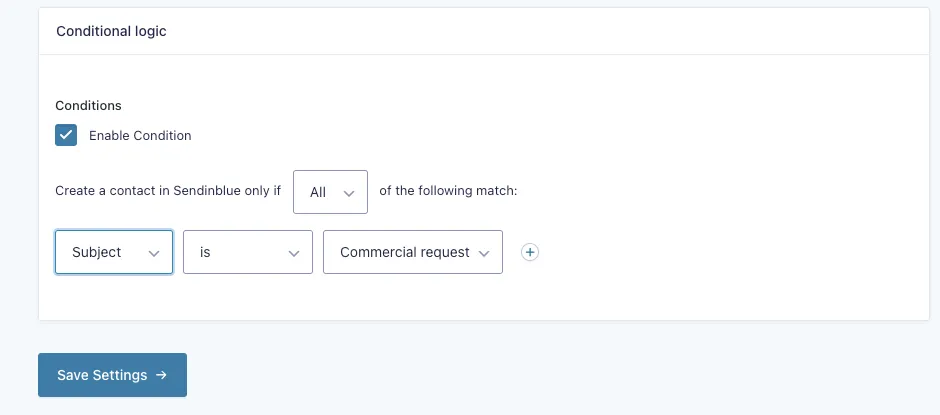
Once you configurated your condition, click on Save Settings button.
Synchronization
As long as the feed is indicated as Active in the list of Odoo Feeds, when a form is completed by a user, the data entered are sent to the Odoo table chosen in this feed.
💡 To make a feed inactive, simply click on the Active button to switch to inactive mode.
Supported Fields and Models
Supported Gravity Forms fields
- Single Line Text
- Paragraph
- Text
- Drop Down
- Number
- Checkboxes
- Radio Buttons
- Name
- Date
- Time
- Phone
- Address
- Website
- File
- List
- Multi select
- Consent
Supported Odoo models
- Contacts
Supported Odoo fields
- Char
- Text
- Html
- Selection
- Date
- Datetime
- Boolean
- Float
- Integer
- Binary