WPForms to Airtable Documentation
Start managing your data more efficiently by linking your Airtable database to your WP Forms using our add-on.
Simply identify the Airtable tables you want to connect to a WP Form, map the pertinent fields, and you're all ready. From then on, all responses from your forms will go straight into your Airtable database, streamlining your data collection and organization. It's a straightforward, practical solution for enhanced data handling.
Our WPForms Add-On is compatible with the Basic, Plus, and Pro versions of WPForms.
Installation & Settings
To install our WPForms to Airtable add-on in WordPress, follow the steps below:
-
Download the plugin file to your computer.
-
Log in to your WordPress dashboard.
-
In the left-hand menu, click on "Plugins" and then "Add New".
-
Click the "Upload Plugin" button at the top of the page.
-
Click the "Choose File" button and select the plugin file you downloaded in Step 1.
-
Click the "Install Now" button.
-
Wait for the plugin to be installed, then click the "Activate" button.
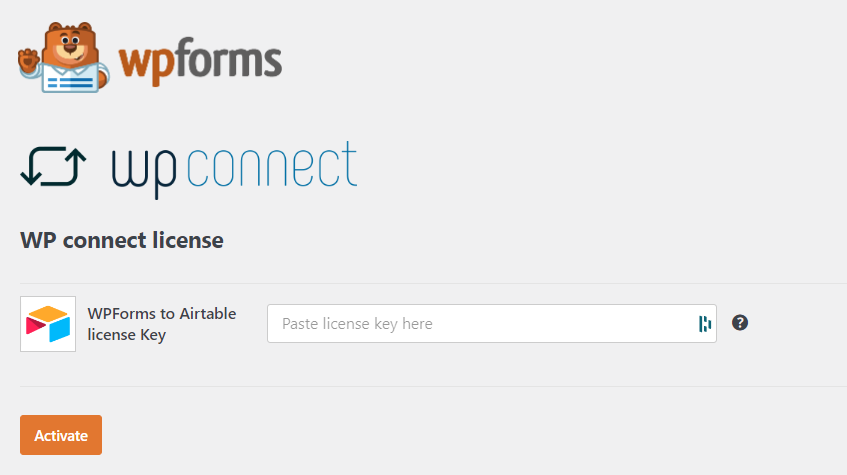
To activate your license key for the WPForms to Airtable add-on, follow the steps below:
-
In the left-hand menu of WPForms, click on "WP connect".
-
Paste your license key in the "WP Forms to Airtable Add-on License Key" field.
-
Click on "Activate".
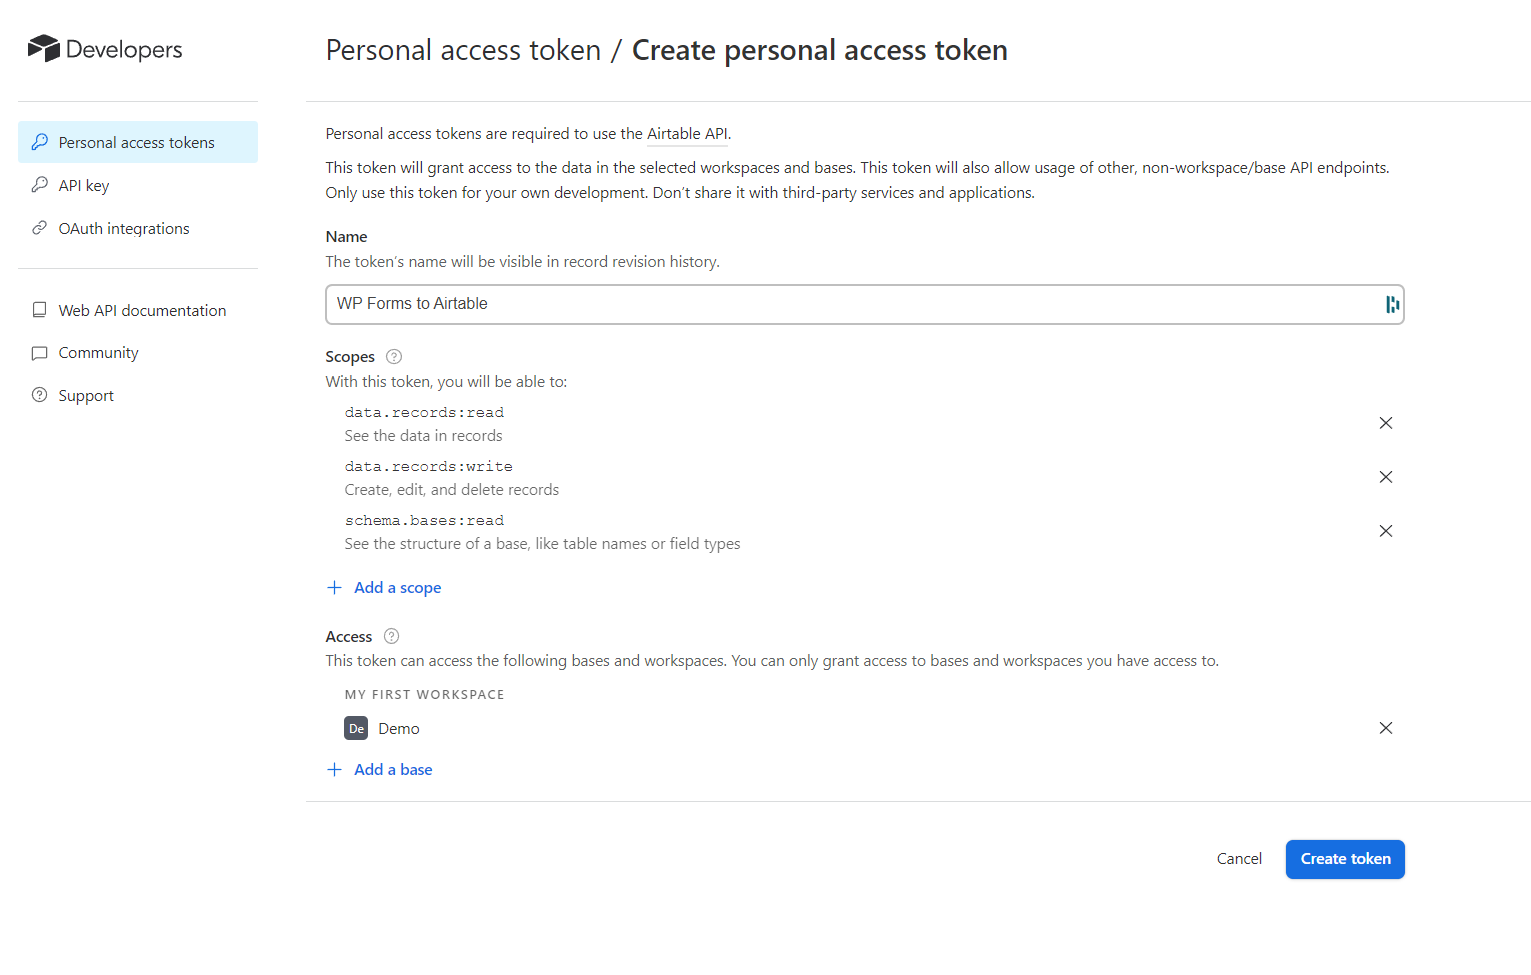
Generate Airtable Access token
-
In Airtable, click on your account icon (top right corner).
-
Select "Developer Hub".
-
Click on "Personal access tokens".
-
Click on "Create token".
-
Enter a name for your token.
-
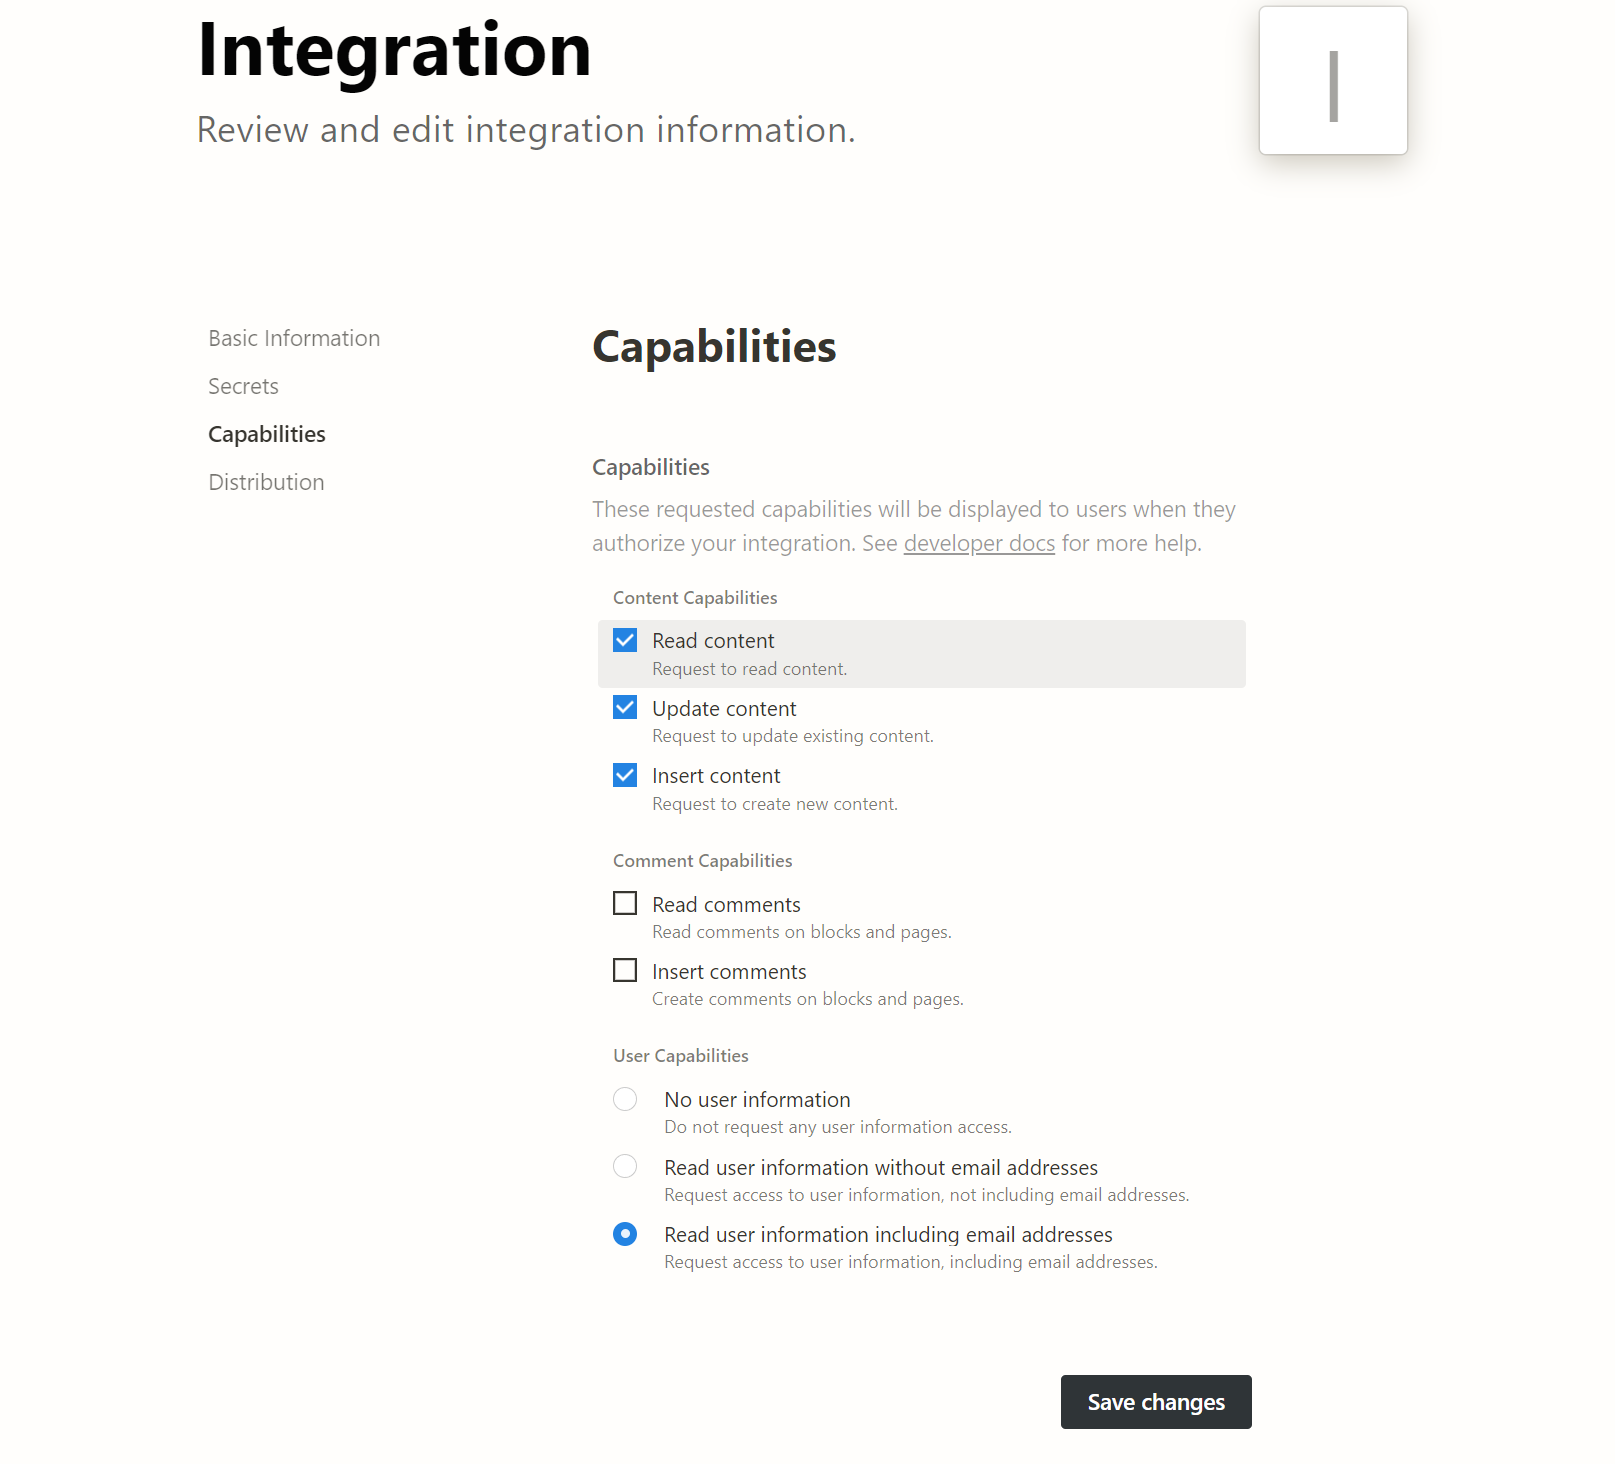
Click on "Add scope", then add the following:
- data.records:write
- schema.bases:read
- data.records:read
-
Click on "Add base", then select the base you want to connect to your form.
-
Click "Create token".
-
Copy your token to your clipboard.
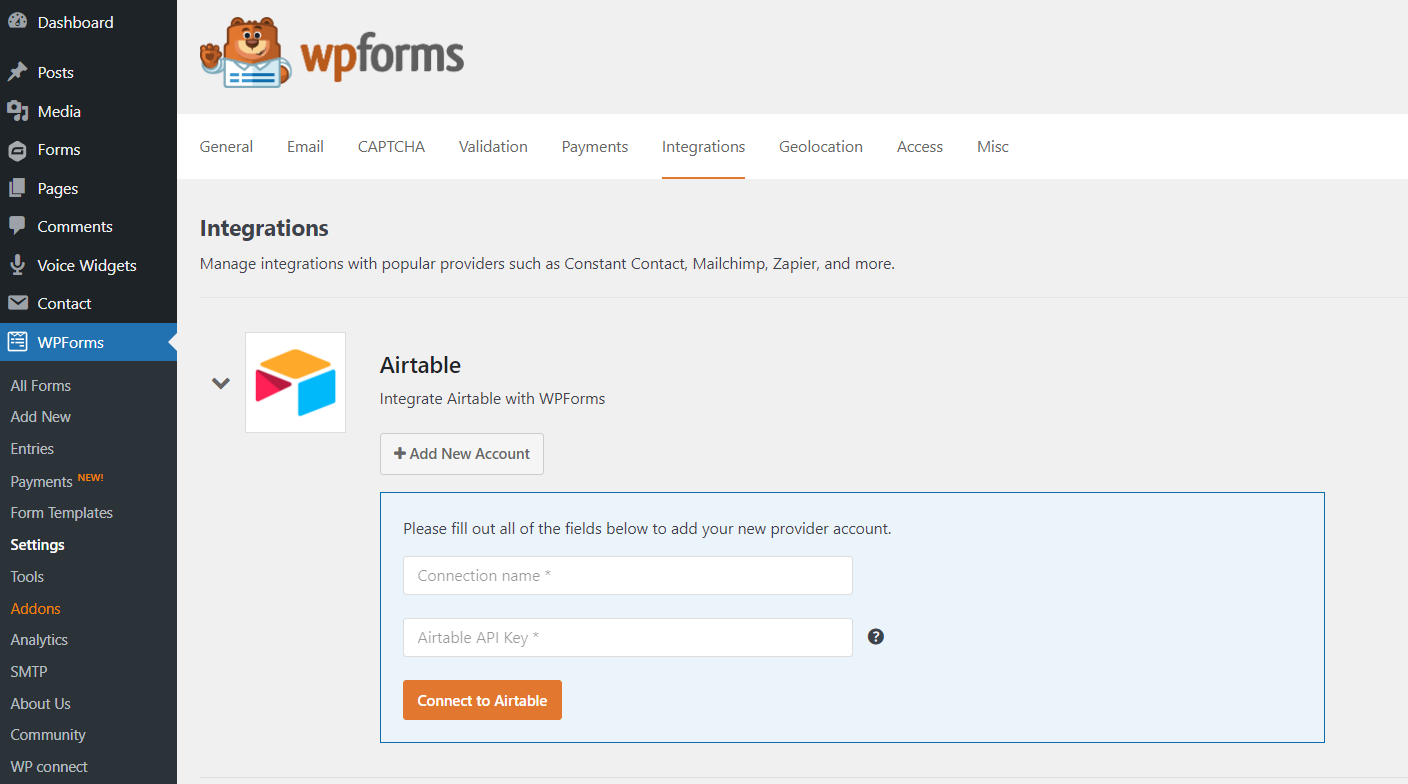
Add Airtable Access Token to WP Forms
-
In the left-hand menu of WPForms, click on "Settings".
-
In the top tabs, click on "Integrations".
-
Scroll down and click on "Airtable".
-
Click on "Add New Account".
-
Enter an account name.
-
Paste your Airtable access token into the "Airtable API Key" field.
-
Click on "Connect to Airtable".
Create a Connection
-
Open the form you want to connect with your Airtable base.
-
In the left menu, click on "Marketing".
-
Click on "Airtable".
-
Click on "Add New Connection".
-
Enter a connection name.
-
Select your account
-
Use the drop-down menus to select your Base and Table.
-
Save and reload the page
Fields Mapping
In the Table Fields section of your connection, you will see the list of available form fields, which are the fields present in your form.
-
In the "Table Field Type" column on the right side, select the Airtable field type that matches the form field.
-
In the "Table Field Name", enter the exact name of the corresponding Airtable field.
-
Repeat steps 1 & 2 for each form field you want to sync.
-
Click "Save" in the top-right corner to apply your changes.
Add Conditional Logic (Optional)
You can finally add conditional logic, so only the contact information of those who meet specific conditions will be sent in Airtable table.
To create a condition, click "Enable Condition".
On the left, you can choose a field from your form and select the criteria that will activate sending to Airtable, for example:
→ Request type IS "Commercial request"
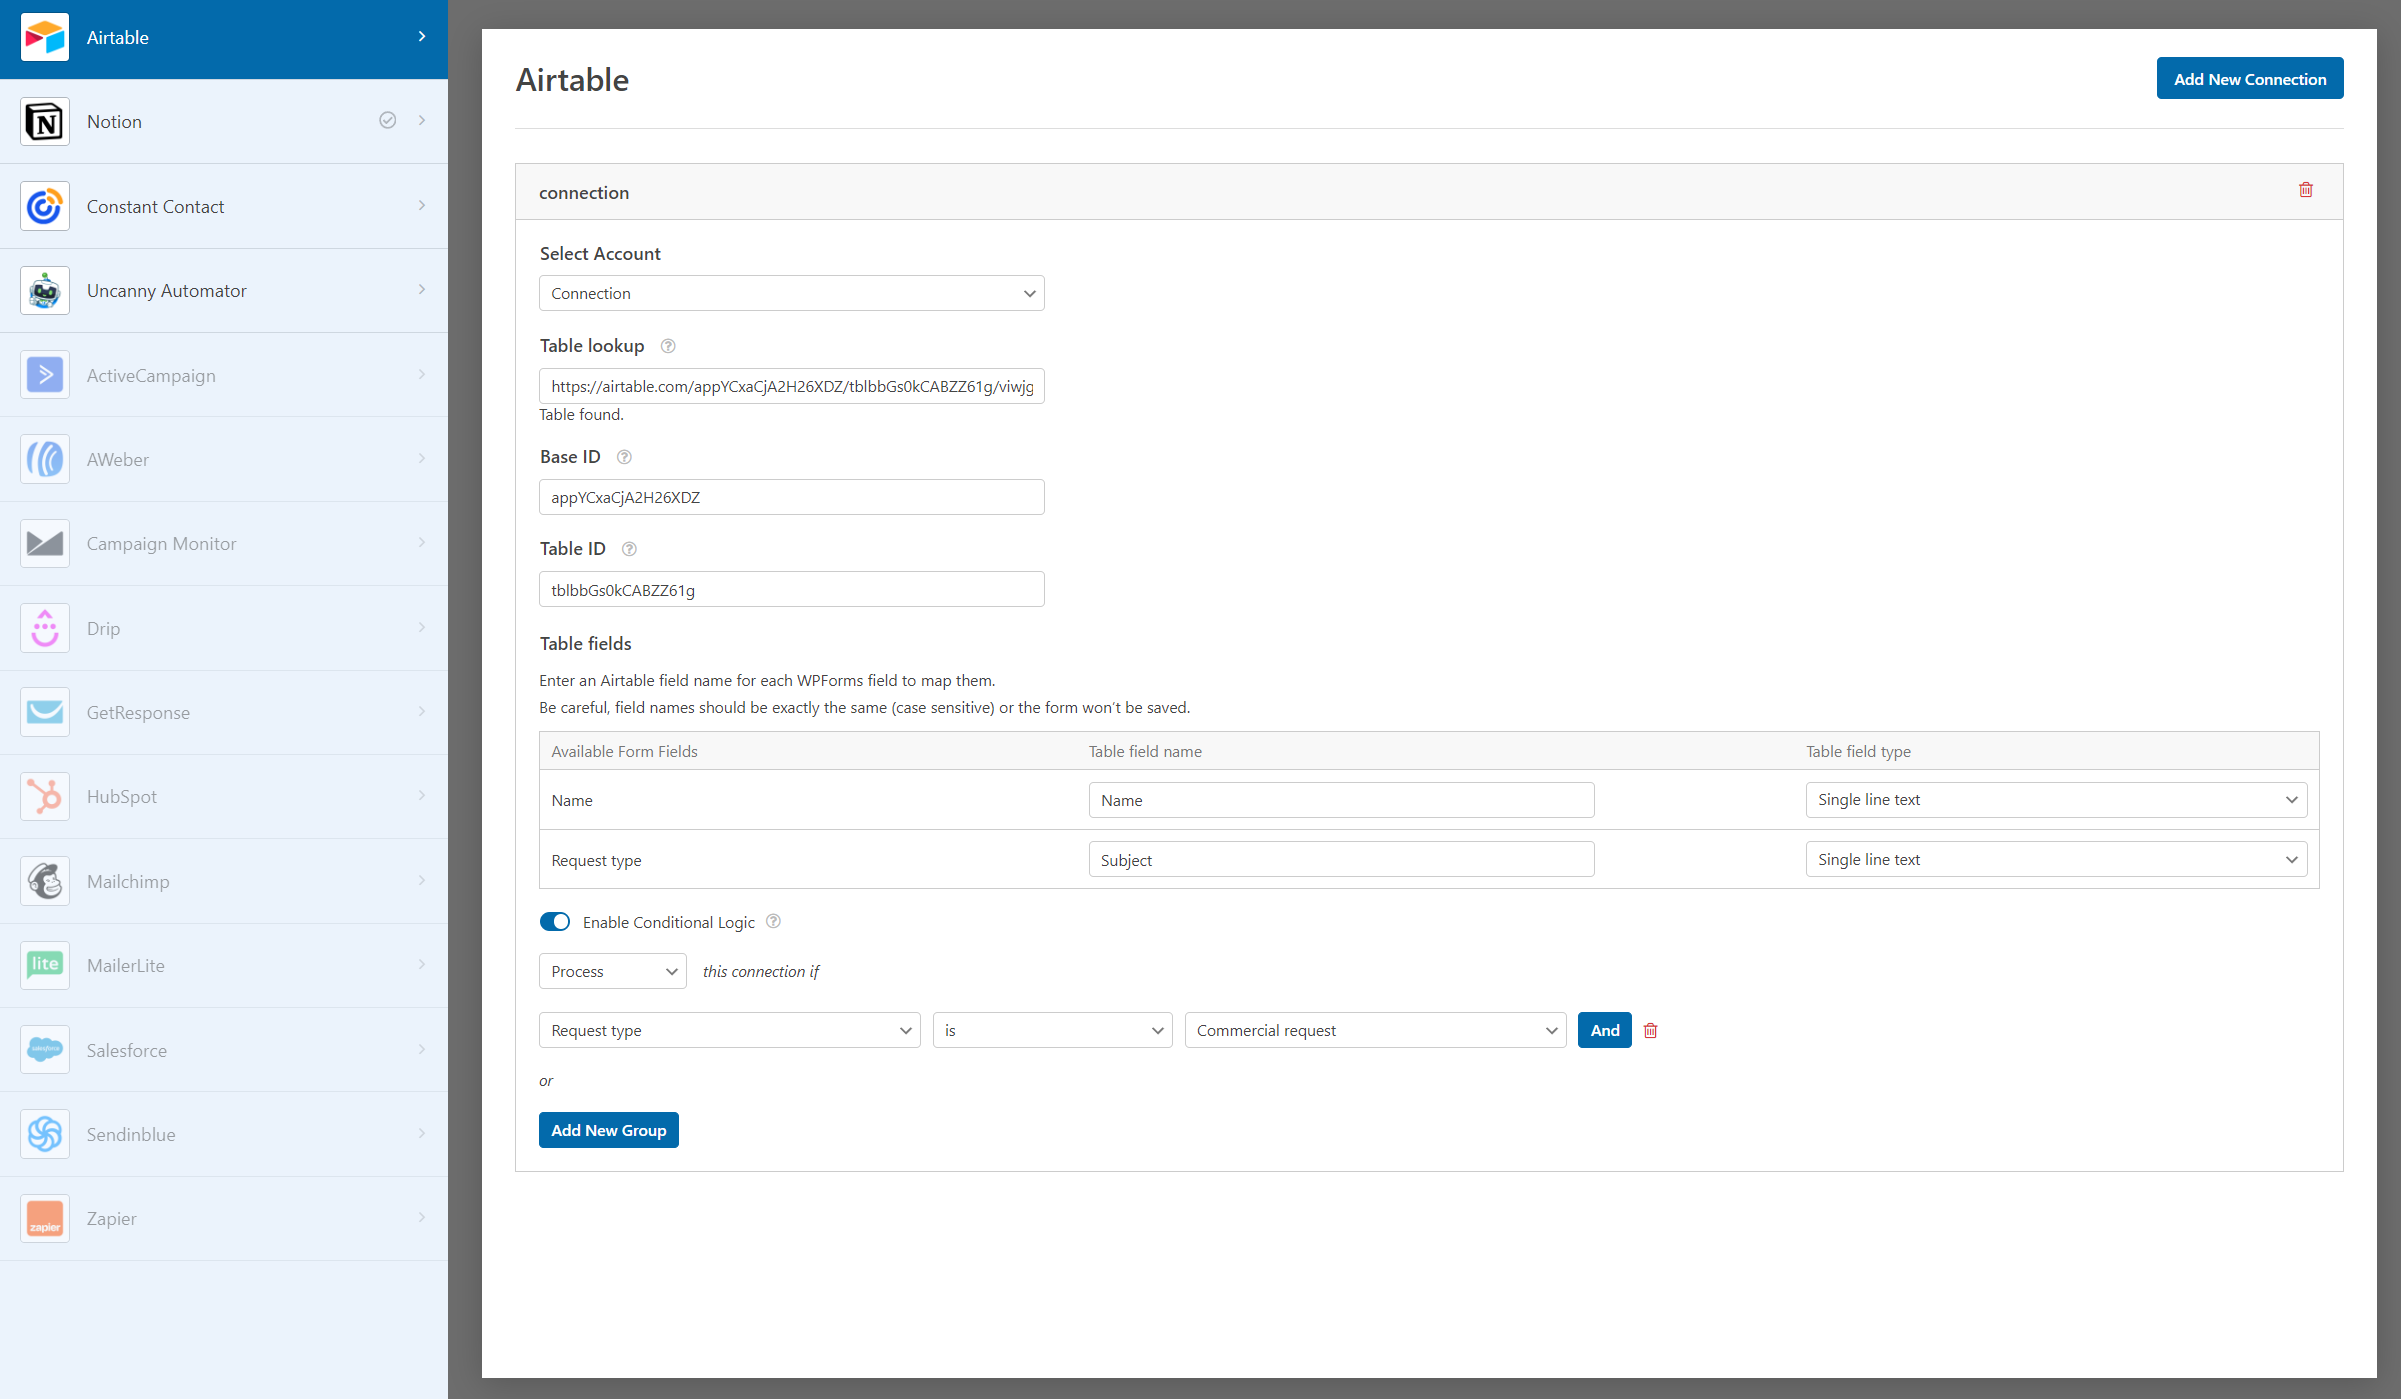
Once you configurated your condition, click on "Save Settings"
Supported fields
Supported WPForms fields:
- Single Line Text
- Paragraph Text
- Dropdown
- Multiple Choice
- Checkboxes
- Numbers
- Name
- Number Slider
- GDPR Agreement
- Phone
- Address
- Date / Time
- Website / URL
- Password
- Rating
- Hidden Field
Supported Airtable properties:
- Checkbox
- Decimal
- Long text
- Multiple Select
- Phone
- Rating
- Single line text
- Single select
- Url