Gravity Forms to Brevo Documentation
This guide helps you integrate your forms with Brevo using the Gravity Forms to Brevo add-On, enabling automatic data transfer from Gravity Forms to Brevo without the need for third-party services.
Brevo Overview
Brevo, a global marketing platform since 2012 (previously called "Sendinblue"), is well-known for managing email campaigns and offers a vast array of features.
Installation & Settings
To install our Gravity Forms to Brevo add-on in WordPress, follow the steps below:
-
Download the plugin file to your computer.
-
Log in to your WordPress dashboard.
-
On the left-hand side menu, click on "Plugins" and then "Add New".
-
Click the "Upload Plugin" button at the top of the page.
-
Click the "Choose File" button and select the plugin file you downloaded in step 1.
-
Click the "Install Now" button.
-
Wait for the plugin to be installed, and then click the "Activate" button.
To activate the Gravity Forms to Brevo add-on, follow the steps below:
-
Go in "settings" of Gravity Forms and then click on "Brevo".
-
Finally, Add your license key in "License Activation" and click on "Activate".
Generate a Brevo API Key
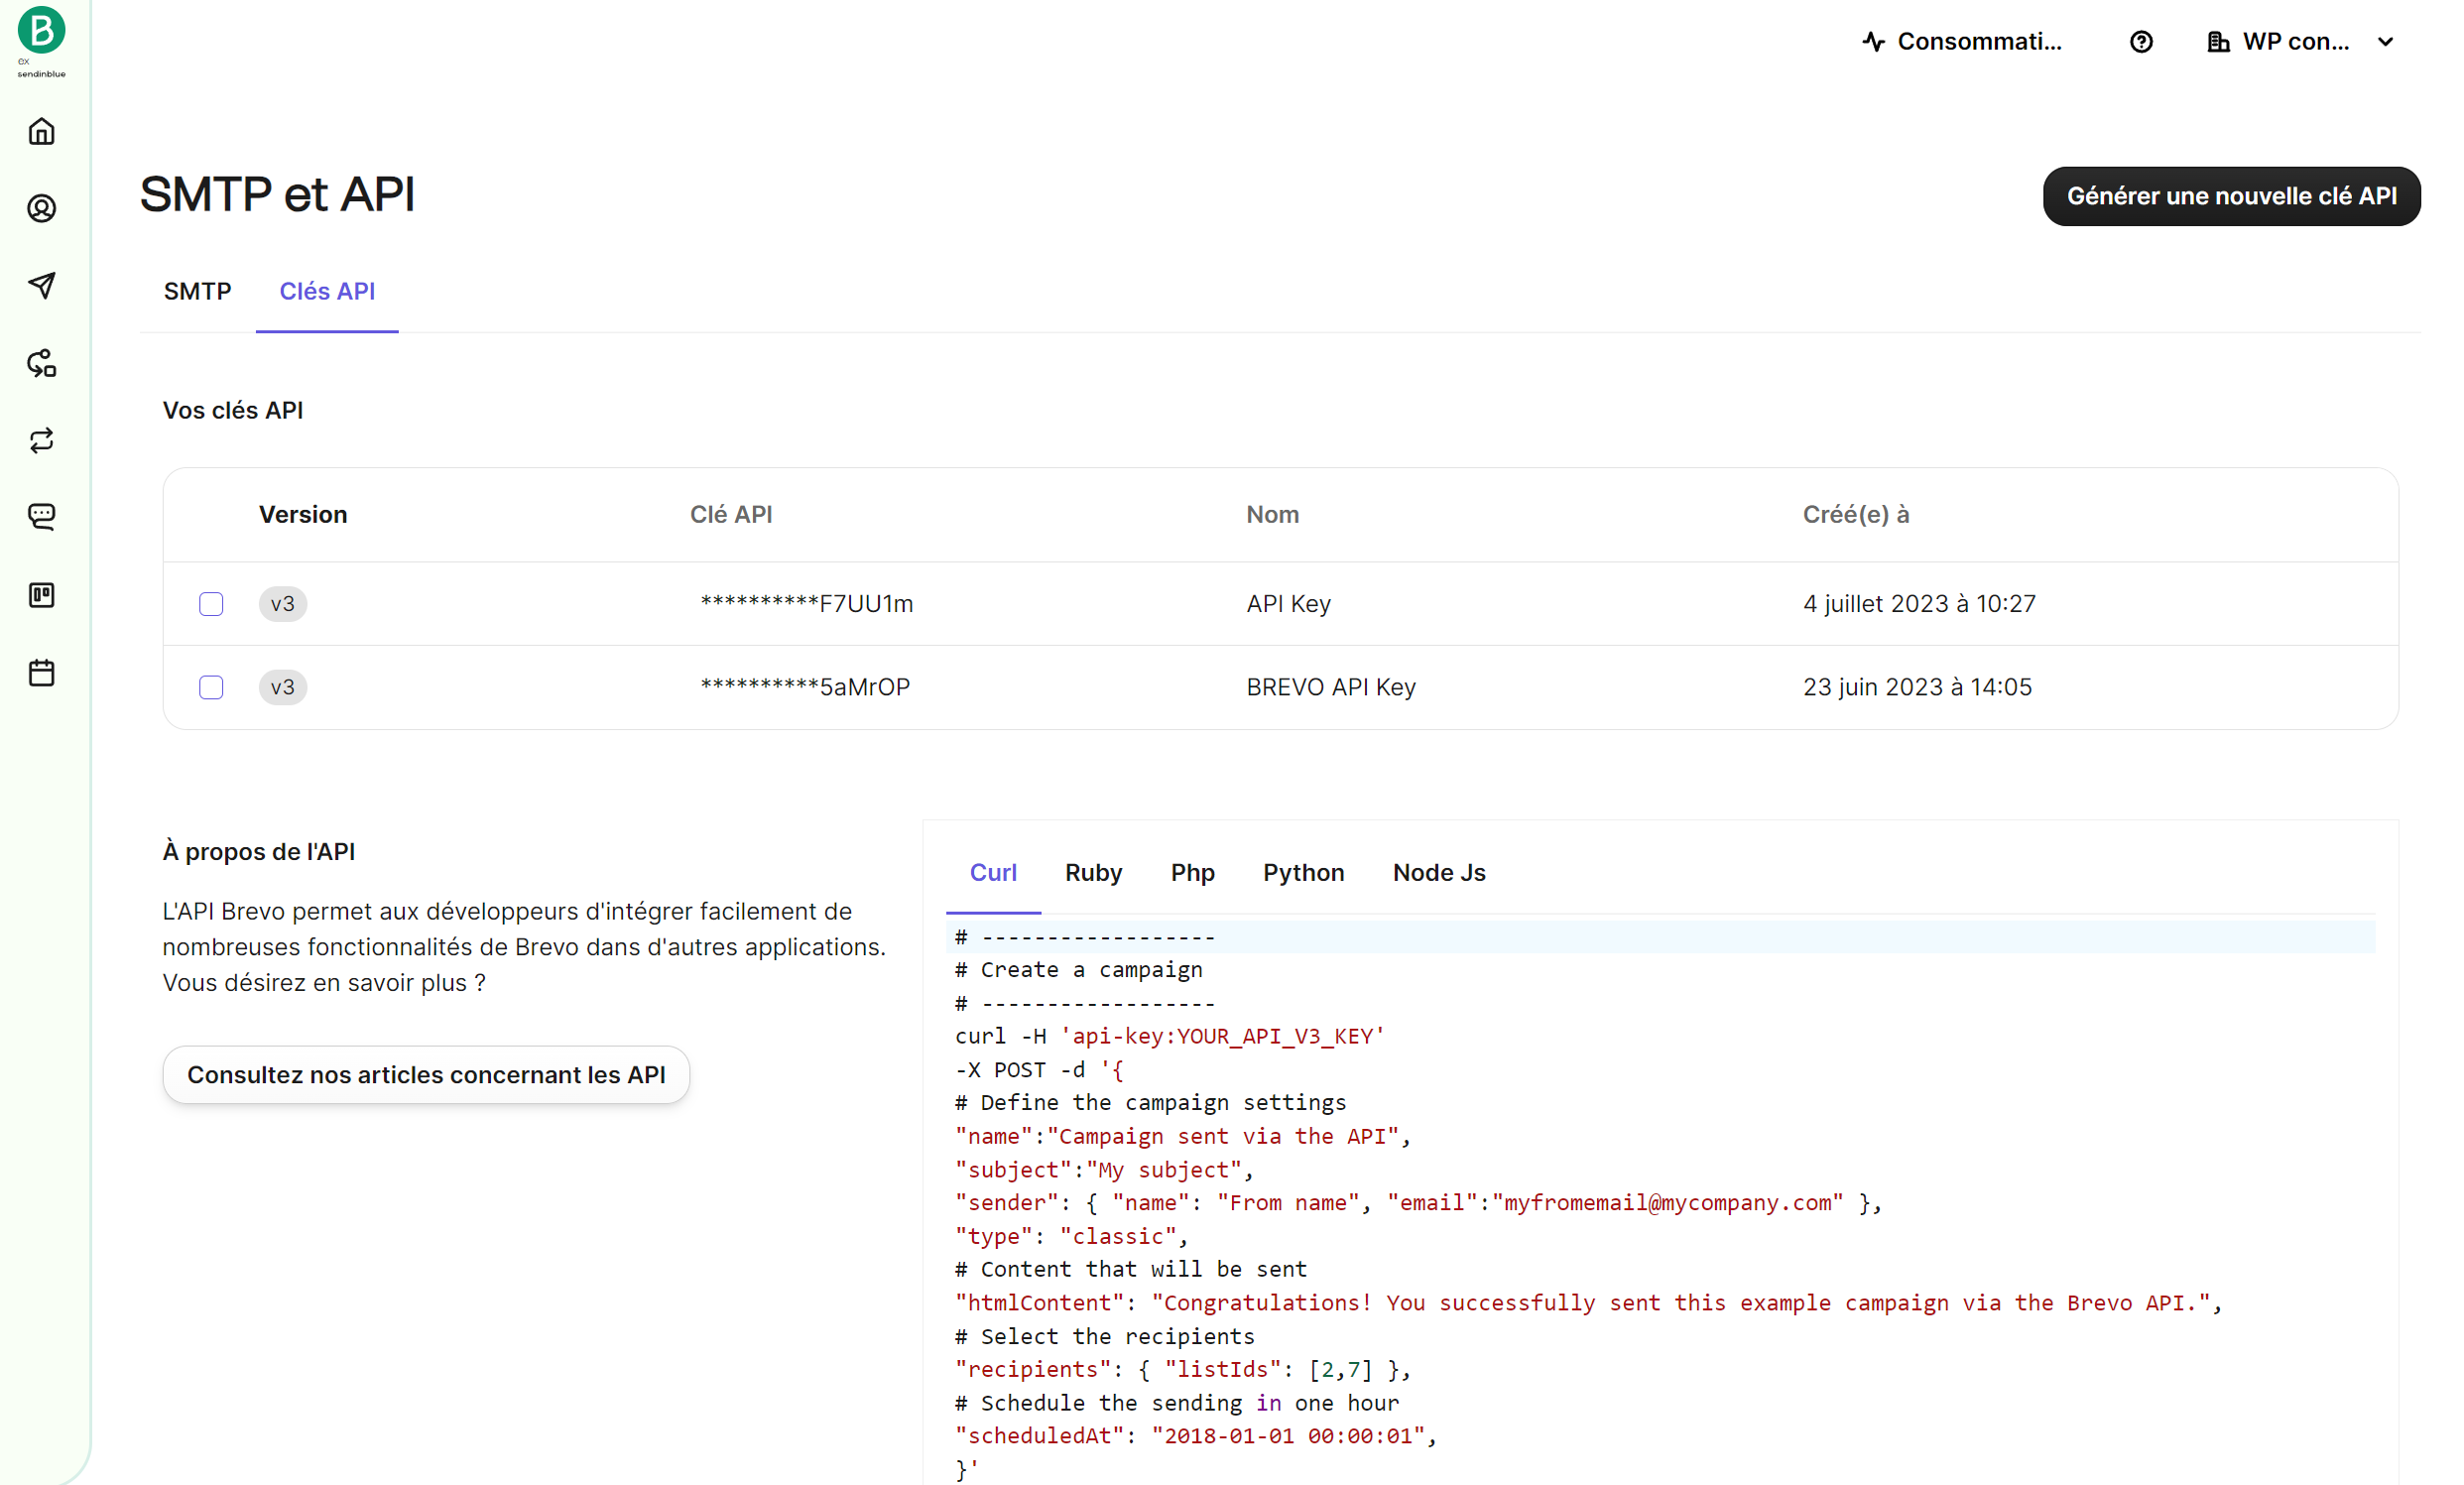
-
In Brevo, click on your account.
-
Click on the "SMTP & API" menu.
-
Click on "API key".
-
Click on "Generate new API key".
-
Enter a name for your API key then click on "Generate".
-
Copy your API key to clipboard.
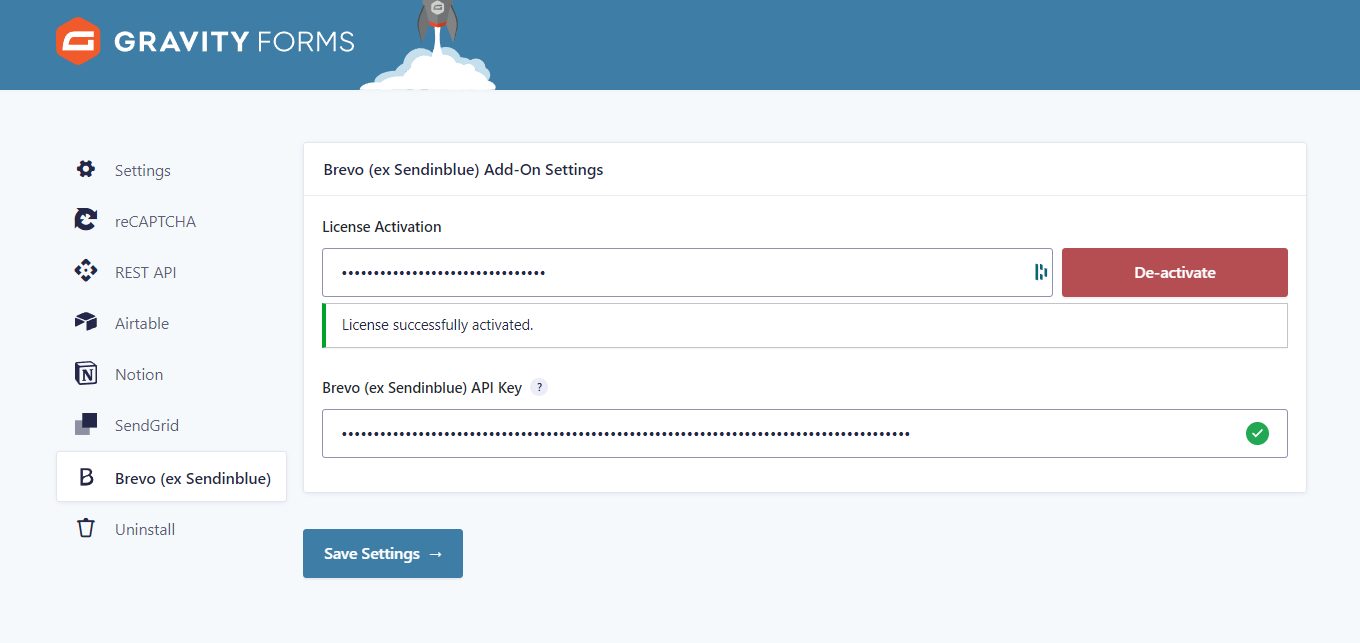
Add API Key to Gravity Forms plugin
-
In the left-hand menu section of Gravity Forms, click on "Settings".
-
Click on "Brevo".
-
Paste your API key from Brevo in "Brevo (ex Sendinblue) API Key" section then click on "Save settings".
Create a Feed

-
Open the form you want to connect with your Brevo base.
-
In the top, click on "Settings".
-
Click on "Brevo (ex Sendinblue)".
-
In Brevo feeds, click on "Add new".
-
Enter a feed name.
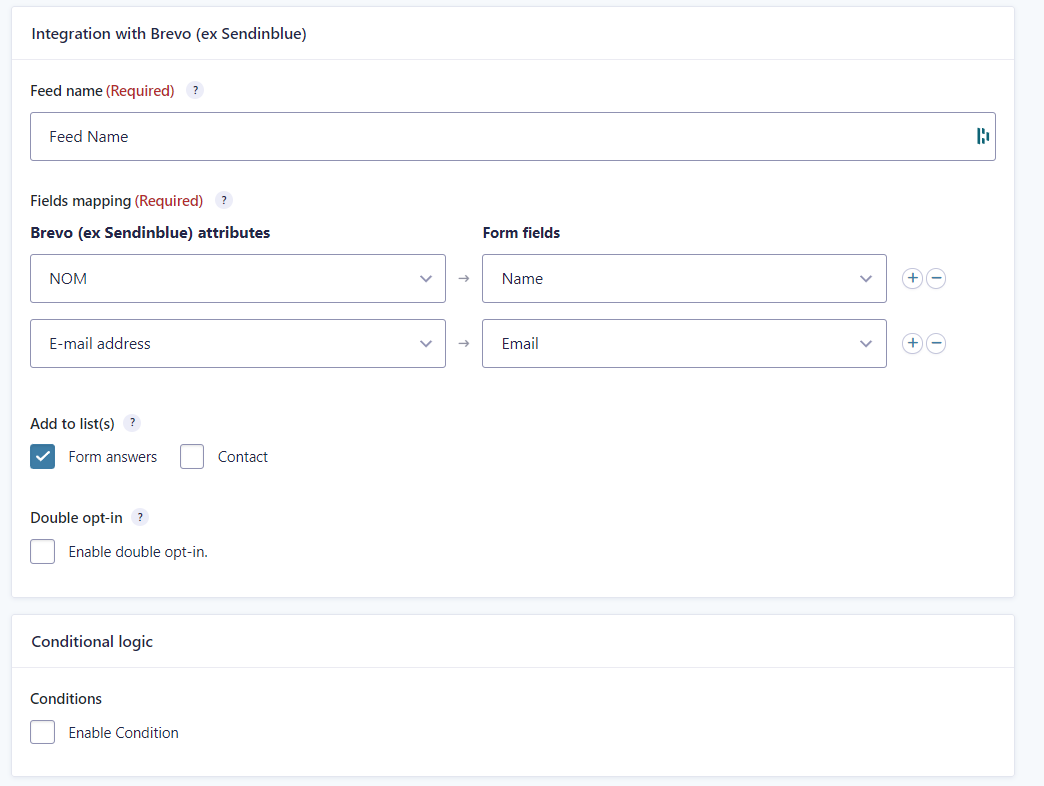
Fields Mapping
-
In "Fields mapping", select a Brevo attribute.
-
In "Form fields", select a form field present in your form.
-
Click on the "+" button on the right to connect other "Brevo fields name" with "Form field".
-
Repeat step 2 & 3.
-
Click on "Save setting".
Choosing the Brevo list
Below Add to list, you'll find all the contact lists created in your Brevo account.
You just have to check the list or lists to which you want to send your contacts.
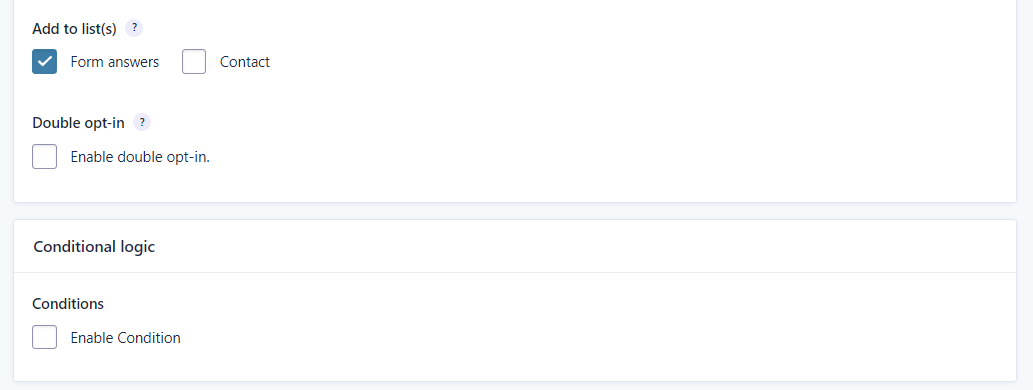
Enable Double Opt-In (Optional)
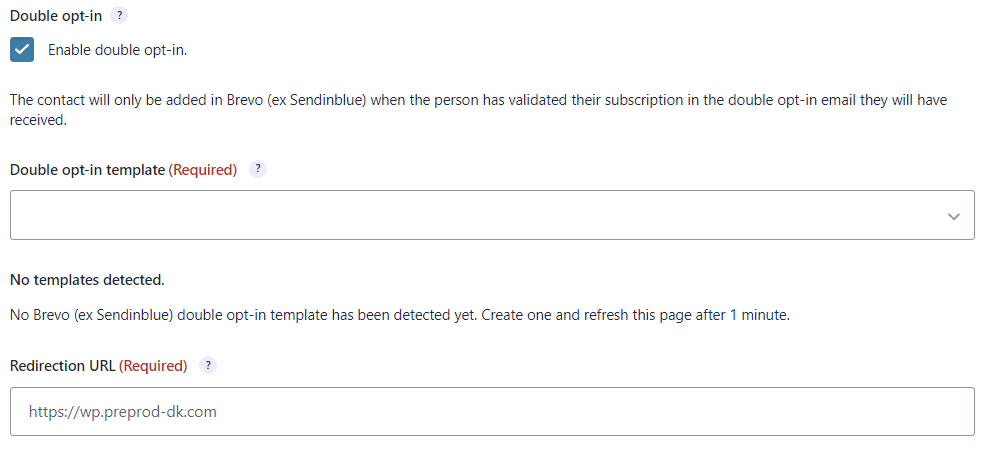
Upon form submission, an email containing a confirmation link will be sent to your contacts. Only those who click this link will be registered in your Brevo list.
-
Activate it by checking the 'Enable Double Opt-In' checkbox, then additional fields will appear.
-
Select a double opt-in template from Brevo.
-
Enter a redirection URL.
Add Conditional Logic (Optional)
You can finally add conditional logic, so only the contact information of those who meet specific conditions will be sent in Brevo list.
To create a condition, click Enable Condition.
On the left, you can choose a field from your form and select the criteria that will activate sending to Brevo, for example:
→ Subject IS "Commercial request".
Once you configurated your condition, click on "Save Settings".

Supported Fields
Gravity Forms fields:
-
Single Line Text
-
Paragraph
-
Text
-
Drop Down
-
Number
-
Checkboxes
-
Radio Buttons
-
Name
-
Date
-
Time
-
Phone
-
Address
-
Website
-
Email
-
File
-
List
-
Multi select
-
Consent
Brevo attributes:
-
Text
-
Date
-
Number
-
Categories
-
Boolean
Compatibility Table
Troubleshooting
Handling Brevo API "Unrecognised IP Address" Error
If you see the following error when activating your Brevo API key:
The Brevo API returned an error:
We have detected you are using an unrecognised IP address 176.170.54.33. If you performed this action make sure to add the new IP address in this link: https://app.brevo.com/security/authorised_ips (Code: 401)
This issue is related to a new Brevo security feature that restricts API access to authorised IP addresses only.
To resolve it:
-
Go to your Brevo account: https://app.brevo.com/security/authorised_ips
-
Add the IP address displayed in the error message (for example, 176.170.54.33) to your Authorised IPs list.
-
Wait approximately 5 minutes for the changes to take effect.
-
Return to WordPress and validate your API key again.
Once this is done, your Brevo Add-on will connect successfully.