Sync WooCommerce Orders to Odoo Documentation
Thank you for purchasing our product!
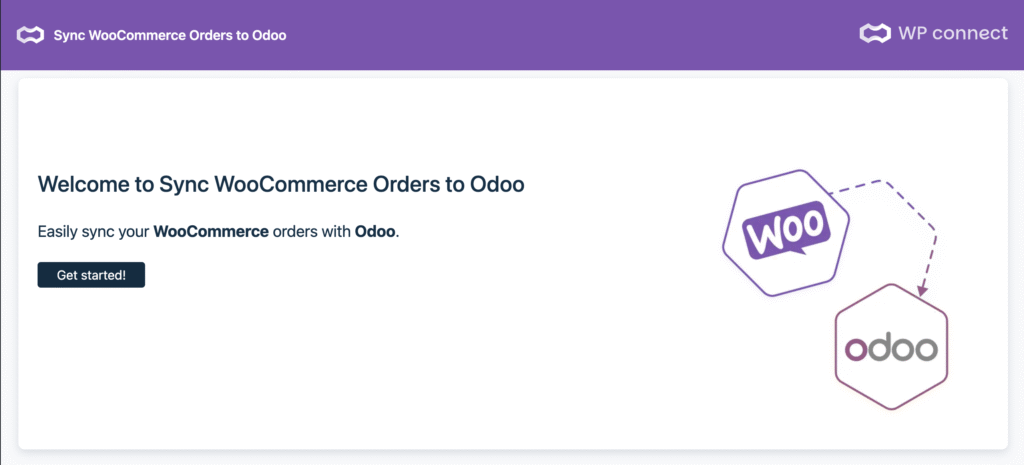
Welcome to the official guide for using the Sync WooCommerce Orders to Odoo plugin. This plugin allows you to synchronize your WooCommerce orders with your Odoo ERP database.
Installation & Settings
- Download the plugin file to your computer.
- Log in to your WordPress dashboard.
- On the left-hand side menu, click on Plugins and then Add Plugin.
- Click the Upload Plugin button at the top of the page.
- Click the Choose File button and select the plugin file you downloaded in step 1.
- Click the Install Now button.
- Wait for the plugin to be installed, and then click the Activate Plugin button.
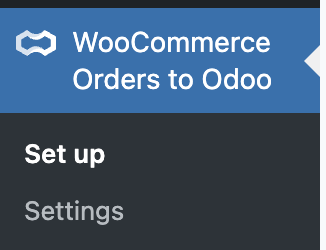
- Click on WooCommerce Orders to Odoo in the admin menu to begin setup
- Click Get Started.
Generate Odoo API Key
In Odoo, go to My Databases and connect into your database, by clicking on connection button.
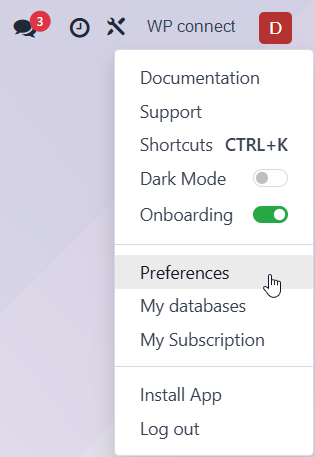
- Click on your name in the top right corner, then select the Preferences menu.
- Click on Account Security, then navigate to the API Keys section.
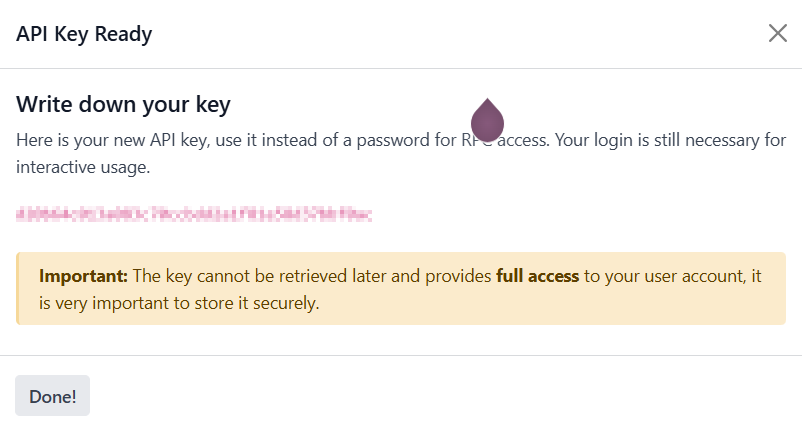
- Click Add New API Key button.
- Enter your password, then click Confirm Password.
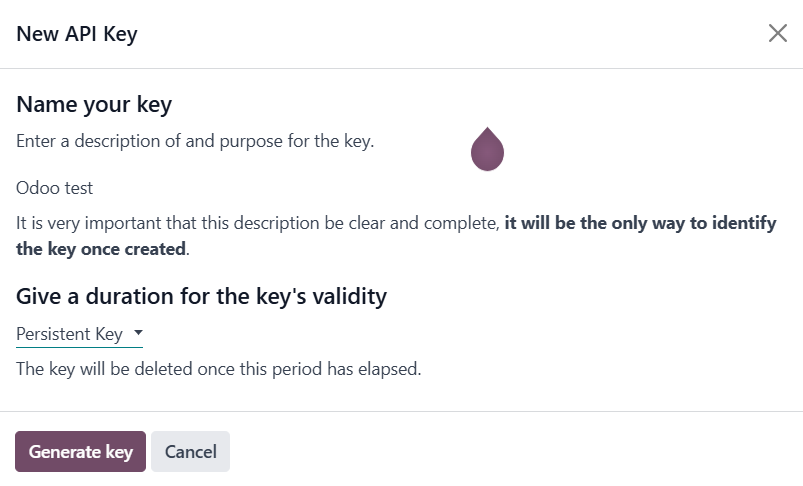
- Type a short description or a name for your API Key and give a duration for the key’s validity by selecting a value in the drop-down list.
- Click on the Generate Key button.
- Save your API Key in a secure place.
- Click on the Done! button.
Set up your Sync WooCommerce Orders to Odoo
To start the wizard: click on the WooCommerce Orders to Odoo menu in the WordPress dashboard, and the wizard will appear.
⚠️ Minimum Odoo version required: Odoo 17 or newer
Step 1: Add Odoo API Key
Click on Get started!
- Check the Odoo’s database information.
- Now, copy your new API Key in the Odoo API key field.
- Enter the e-mail linked to the API key in Odoo User’s Email field.
- Click the Next step button.
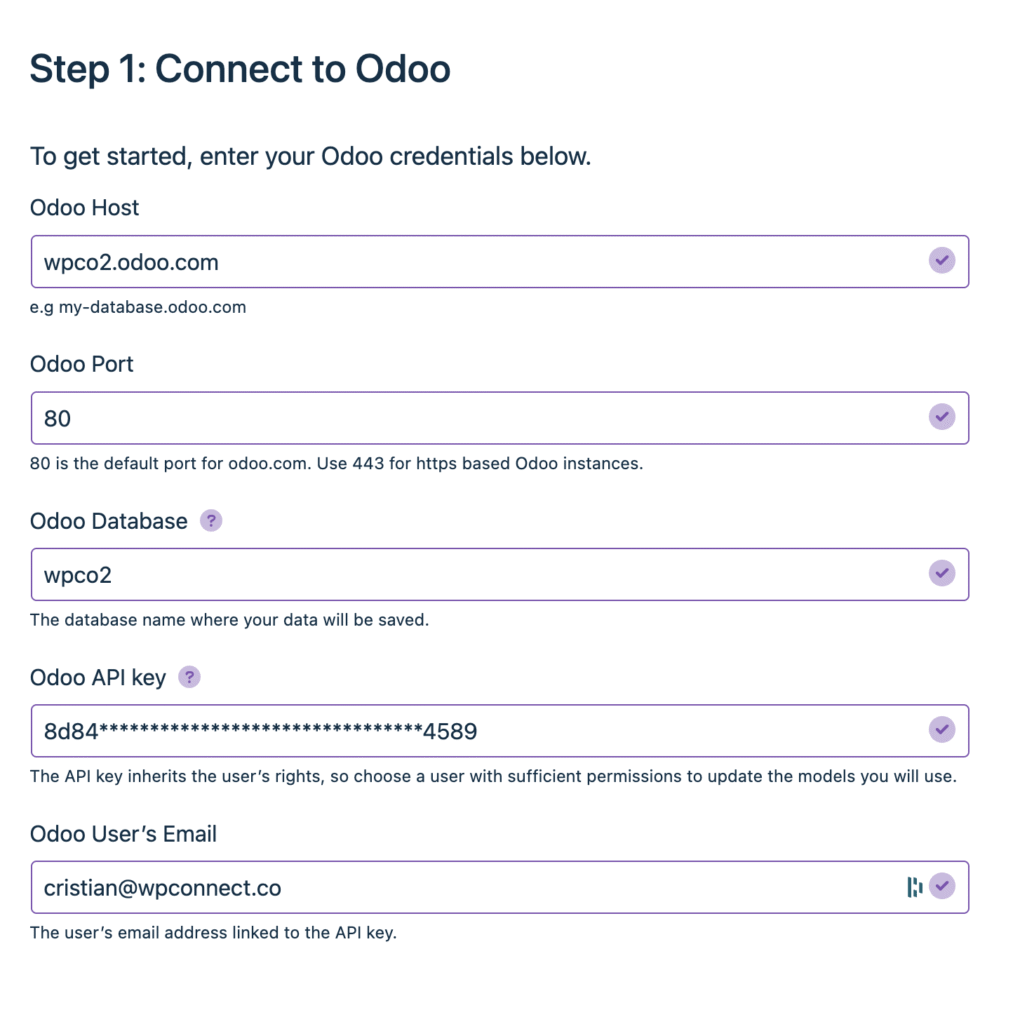
📌 Note: after saving the settings, you should see “Authentication is successful”.
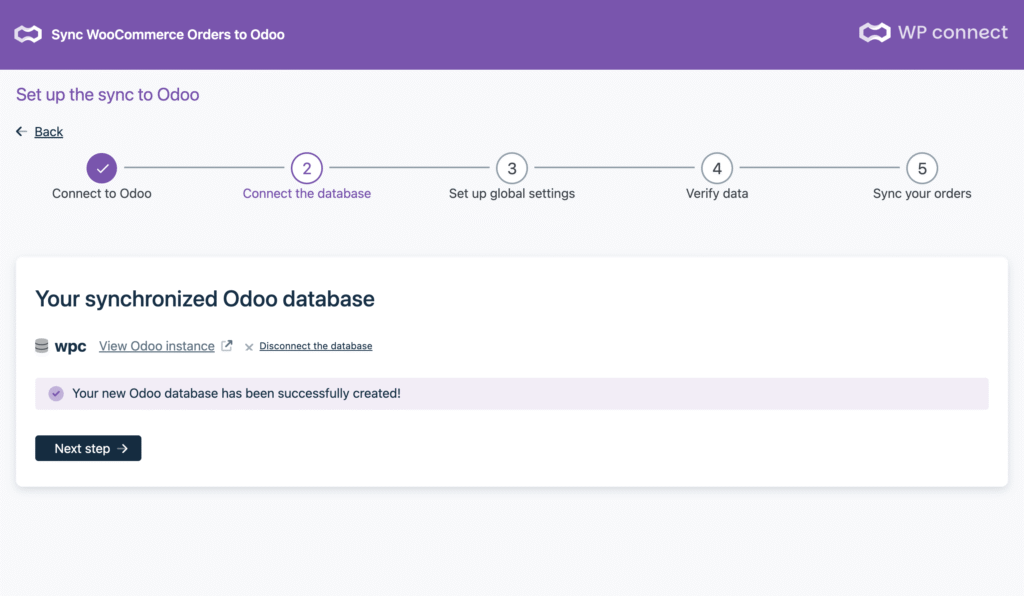
Step 2: Connect the Database
If your credentials are valid, the plugin will connect and display confirmation that your Odoo database is synchronized.
Click Next step.

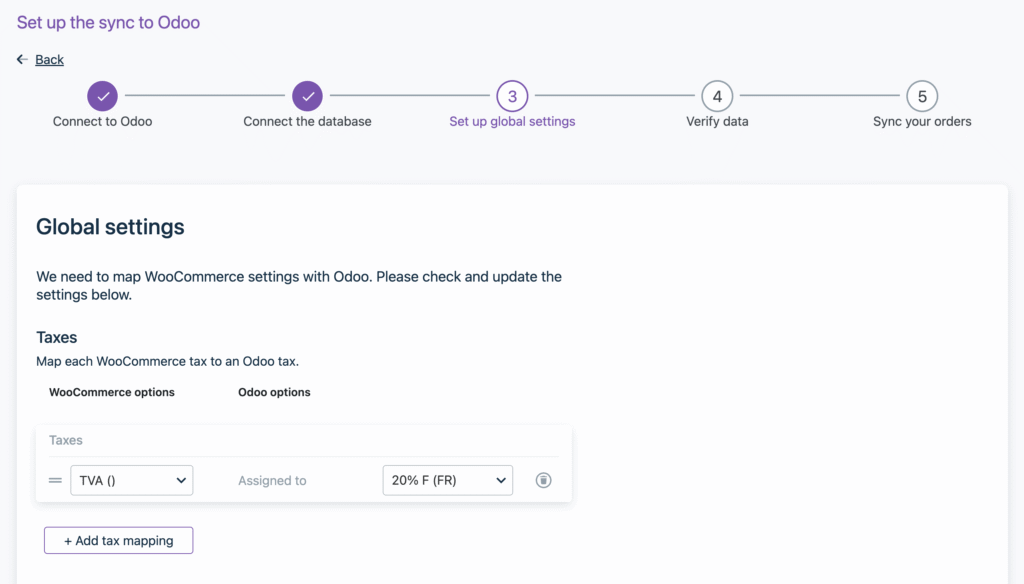
Step 3: Set Up Global Settings
Here you can map WooCommerce tax options to their equivalent in Odoo.
- Select your WooCommerce tax rate (e.g., TVA)
- Assign to the Odoo tax from the dropdown list
You can add more mappings as needed.
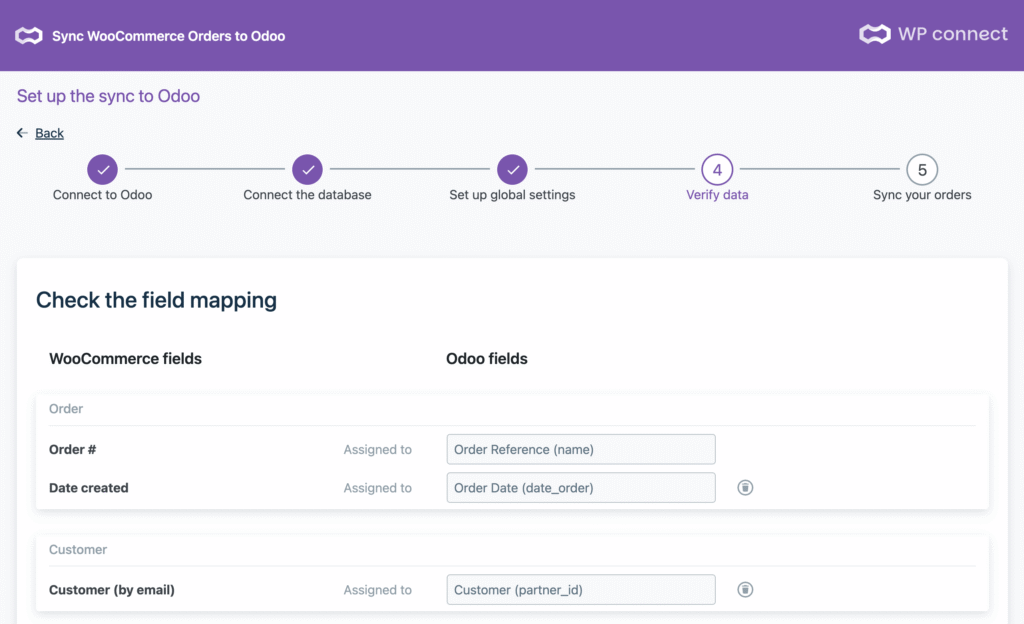
Step 6: Verify Data & Map Fields
Before syncing, confirm that all key WooCommerce order fields are properly mapped to their corresponding Odoo fields:
- Order ID → Order Reference
- Date Created → Order Date
- Customer Email → Customer (Partner ID)
You can add/remove mappings using the interface.

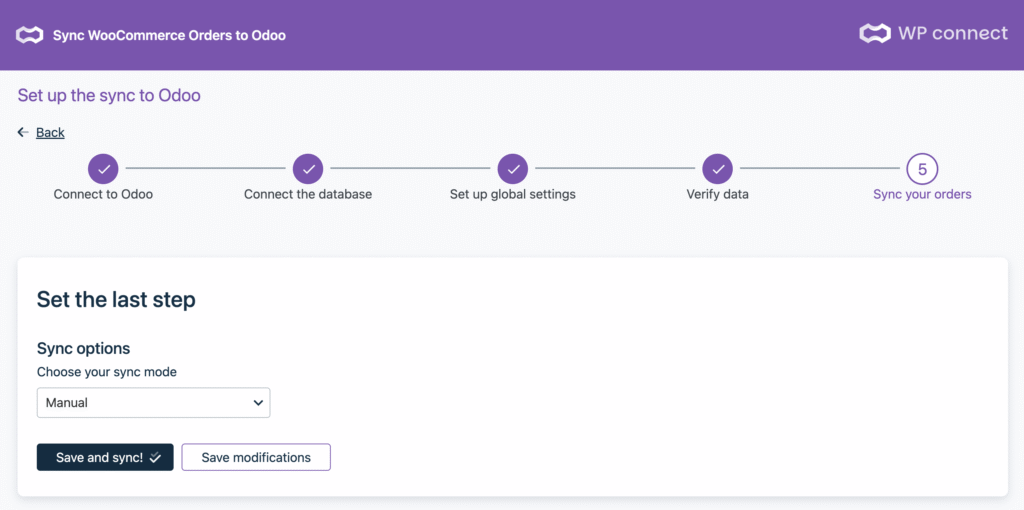
Step 7: Select Sync Mode
Choose how you want to sync your orders:
- Manual: Trigger syncs manually when needed
- Automatic: Trigger syncs automatically when their status changes
Click Save and Sync to start the first synchronization.
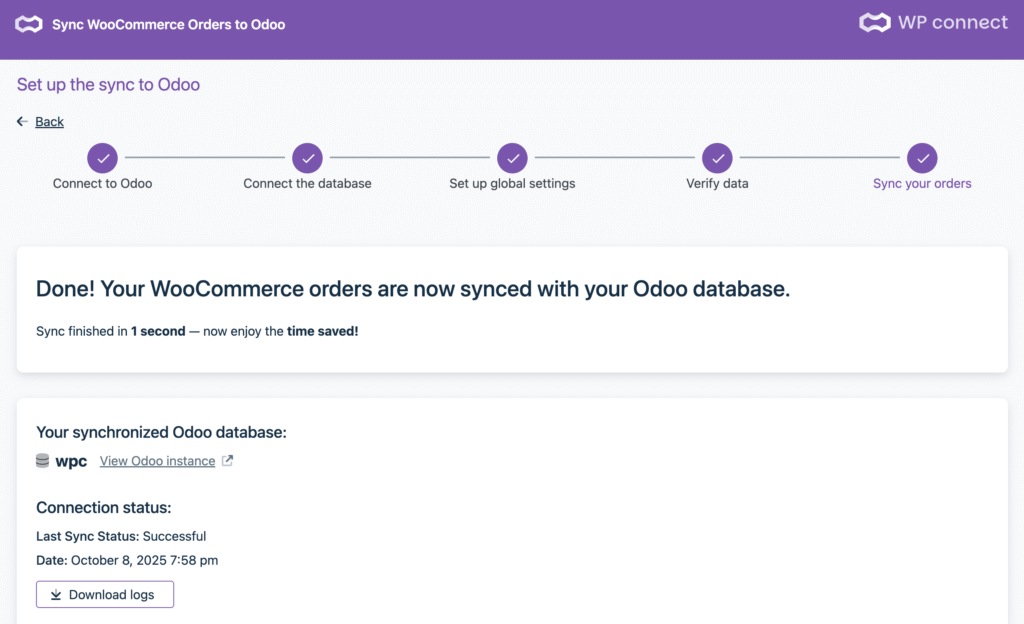
Final Step: Syncing Orders & Confirmation
You’ll see a progress message while orders are being synced.
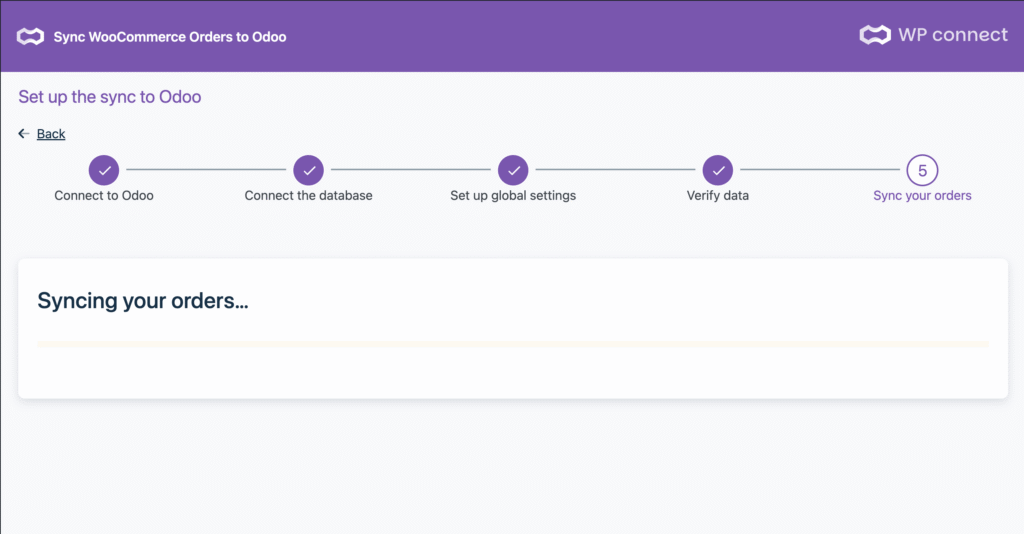
Once the sync is finished, you’ll see a confirmation message and a summary of the status:
- Last sync: Date and time
- Status: Successful / Failed
- Link to your Odoo instance
- Option to download logs